How to prepare the building for winter?
27.08.2025
As winter approaches, cold wind, rain, and snow may find their way inside! Ensuring that your house is properly weatherproof and prepared for the colder seasons is essential. Weatherproofing protects the building’s envelope not only from moisture ingress, but also from heat loss and structural degradation. Here are some tips on how to prepare the building for winter.
First, inspect the building’s exterior and identify problematic areas:
- Verify the joints, penetrations, transitions, and connections between building components. These points are most susceptible to water intrusion and leaks.
- Check the gutters, roof, etc. To check whether the gutters need fixing, it is best to wait for rain, as the problematic areas will be easier to notice.
- Check the condition of the existing sealant joints around windows, doors, etc. Remove deteriorated or damaged sealant before reapplication to ensure good adhesion and the joint’s longevity.
Then, choose the right sealant for the job:
Considering that this sealant must ensure long-term high performance in the harshest conditions, always choose a good-quality, weatherproof and elastic sealant for exterior work.
- Mould-, UV- and weather-resistant: The sealant used for exterior work must have long-lasting mould-, UV- and weather-resistant properties. If the exterior sealant is not mould or UV proof, the humidity and sunlight will ruin the sealant and the building will no longer be properly protected.
- High-elasticity: The sealant’s high elasticity allows it to accommodate the building’s movements and expansions without losing the protective seal.
- Adhesion: Before starting the sealing work, make sure the sealant is compatible with the surfaces to be sealed. For example, many sealants do not adhere to bituminous surfaces and acetoxy sealants should not be used in contact with metal or porous surfaces.
- Application temperature: Depending on the outdoor temperature, a sealant with a wider application temperature range might be preferable.
- Non-sagging: As exterior surfaces are mainly vertical, it is recommended to use a non-sagging sealant for exterior sealing work.
In Penosil portfolio, we have many sealants suitable for exterior sealing work. For example, for sealing the window and door perimeter, we recommend using Penosil Window & Door Silicone 312 or Universal Hybrid 747. For sealing cracks, gaps and holes on the facade, we recommend using Penosil All Purpose Silicone 304 or Building Silicone 322.
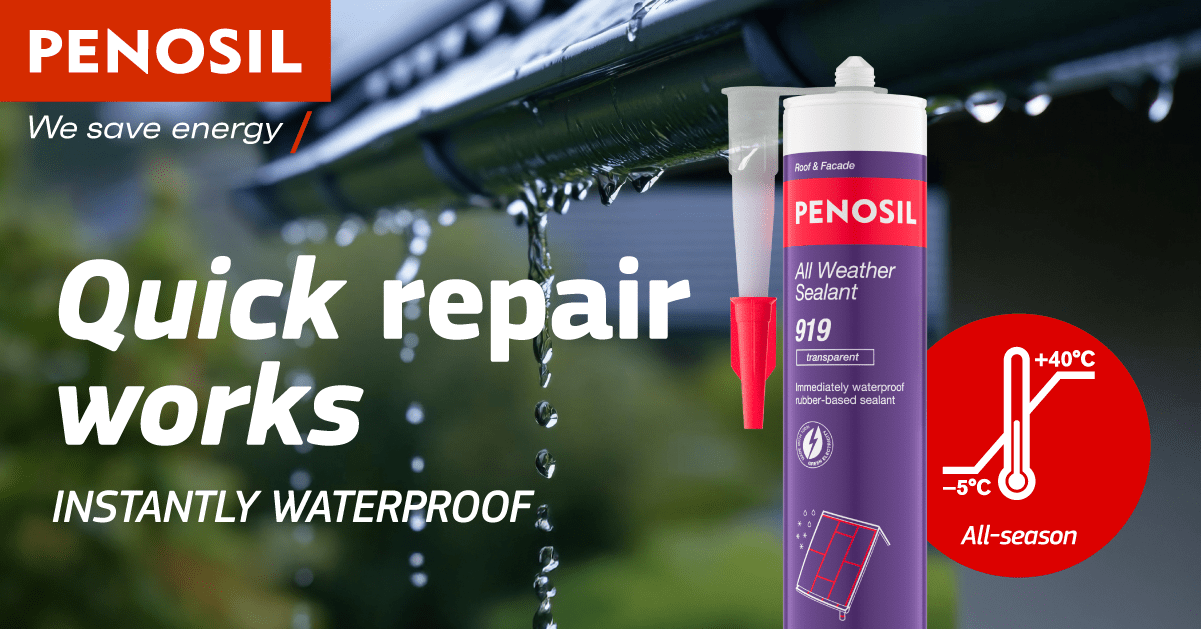
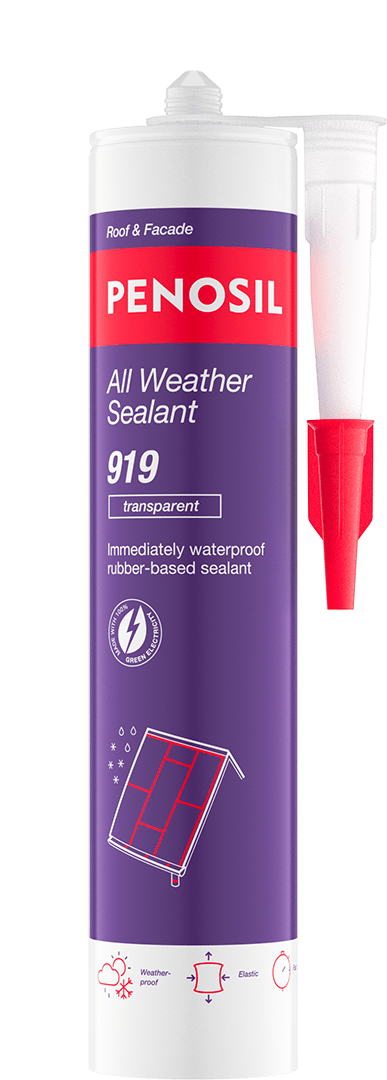
For quick autumnal roof and guttering sealing and repair work, we recommend using Penosil All Weather Sealant 919. This rubber-based sealant provides immediate waterproofing and can be used even during rain and negative temperatures (application temperature from -5°C to +40°C). It is especially developed for challenging conditions and difficult materials such as bitumen. Penosil All Weather Sealant 919 has excellent adhesion to the most common construction materials (bricks, concrete, masonry, wood, metals, glass, plastics) and adheres even to wet and slightly oily surfaces. The formula’s high elasticity (±25%) guarantees a durable and weatherproof seal. Penosil All Weather Sealant 919 makes sure that the repair work remains invisible. You can either paint over the sealed area or choose a product in the right colour from the available options (transparent, white, grey, brown, black and red).
Application techniques:
- Make sure surfaces are clean, dry and free from any dust, loose particles and oil stains. Use a vacuum cleaner to clean the deeper joints.
- Cover the adjacent surfaces with masking tape to ensure crisp and clean joint edges.
- Cut the tip of the cartridge. Screw on the nozzle and cut an opening at a 45° angle that is slightly larger than the joint to be sealed.
- Place the cartridge into a sealant gun. Apply the sealant by keeping an even pressure on the trigger and smoothly guiding the nozzle along the joint. Ensure a continuous, even bead without air bubbles or gaps and make sure the sealant bead has full contact with both sides of the joint.
- Remove the tape immediately after application and clean the adjacent surfaces, tools, and your hands.
Regularly checking the condition of the building’s envelope and promptly addressing any signs of damage will help to safeguard the structure. In addition, choosing the appropriate sealant for the task and executing the work properly will protect the building against the harshest weather conditions while enhancing its energy efficiency and durability.