9 tips on how to achieve high-quality results when working with polyurethane foam
07.06.2022
We occasionally notice situations where, sometime after window or door installation, cold starts to penetrate through the sealed joints. Have you ever considered why this might happen?
Often, professionals want to perform the work faster, which can lead to a poor final result. Penosil experts have prepared 9 tips, which when followed correctly, allow you to achieve a higher-quality and long-lasting result when using construction foams.
- Foam can temperature matters!
You can find the information about correct aerosol can temperature on Penosil’s foam can label or on the penosil.com webpage. Knowing the correct temperature is especially important during winter. If the can is too cold, it can be brought to right temperature by storing it in a warm room or by placing it under warm water. Can’s temperature should never exceed 30˚.
- Store and transport the foam can correctly.
Foam can should always be kept in an upright position. This will protect the can valve from clogging and allows the foam to be applied evenly.
- Preparing the surfaces.
Surfaces must be clean from dust, loose particles, ice and oil stains. This will ensure a better adhesion to the surfaces to be sealed.
- Humidity is important.
Additional moistening is required for almost all Penosil polyurethane foams. Pre moistening dry surfaces with water ensures faster curing time and a better end result. In case of larger joints, foam needs to be applied in several layers and moistened slightly between each layer. No additional moistening is required during winter months due to higher air humidity. In the Penosil range there are two foams which do not require additional moistening: PENOSIL 2K Foam B2 202, a two-component B2 fire rated straw foam and PENOSIL Low Monomer Gunfoam 122, insulation gun foam with a very low diisocyanate content.
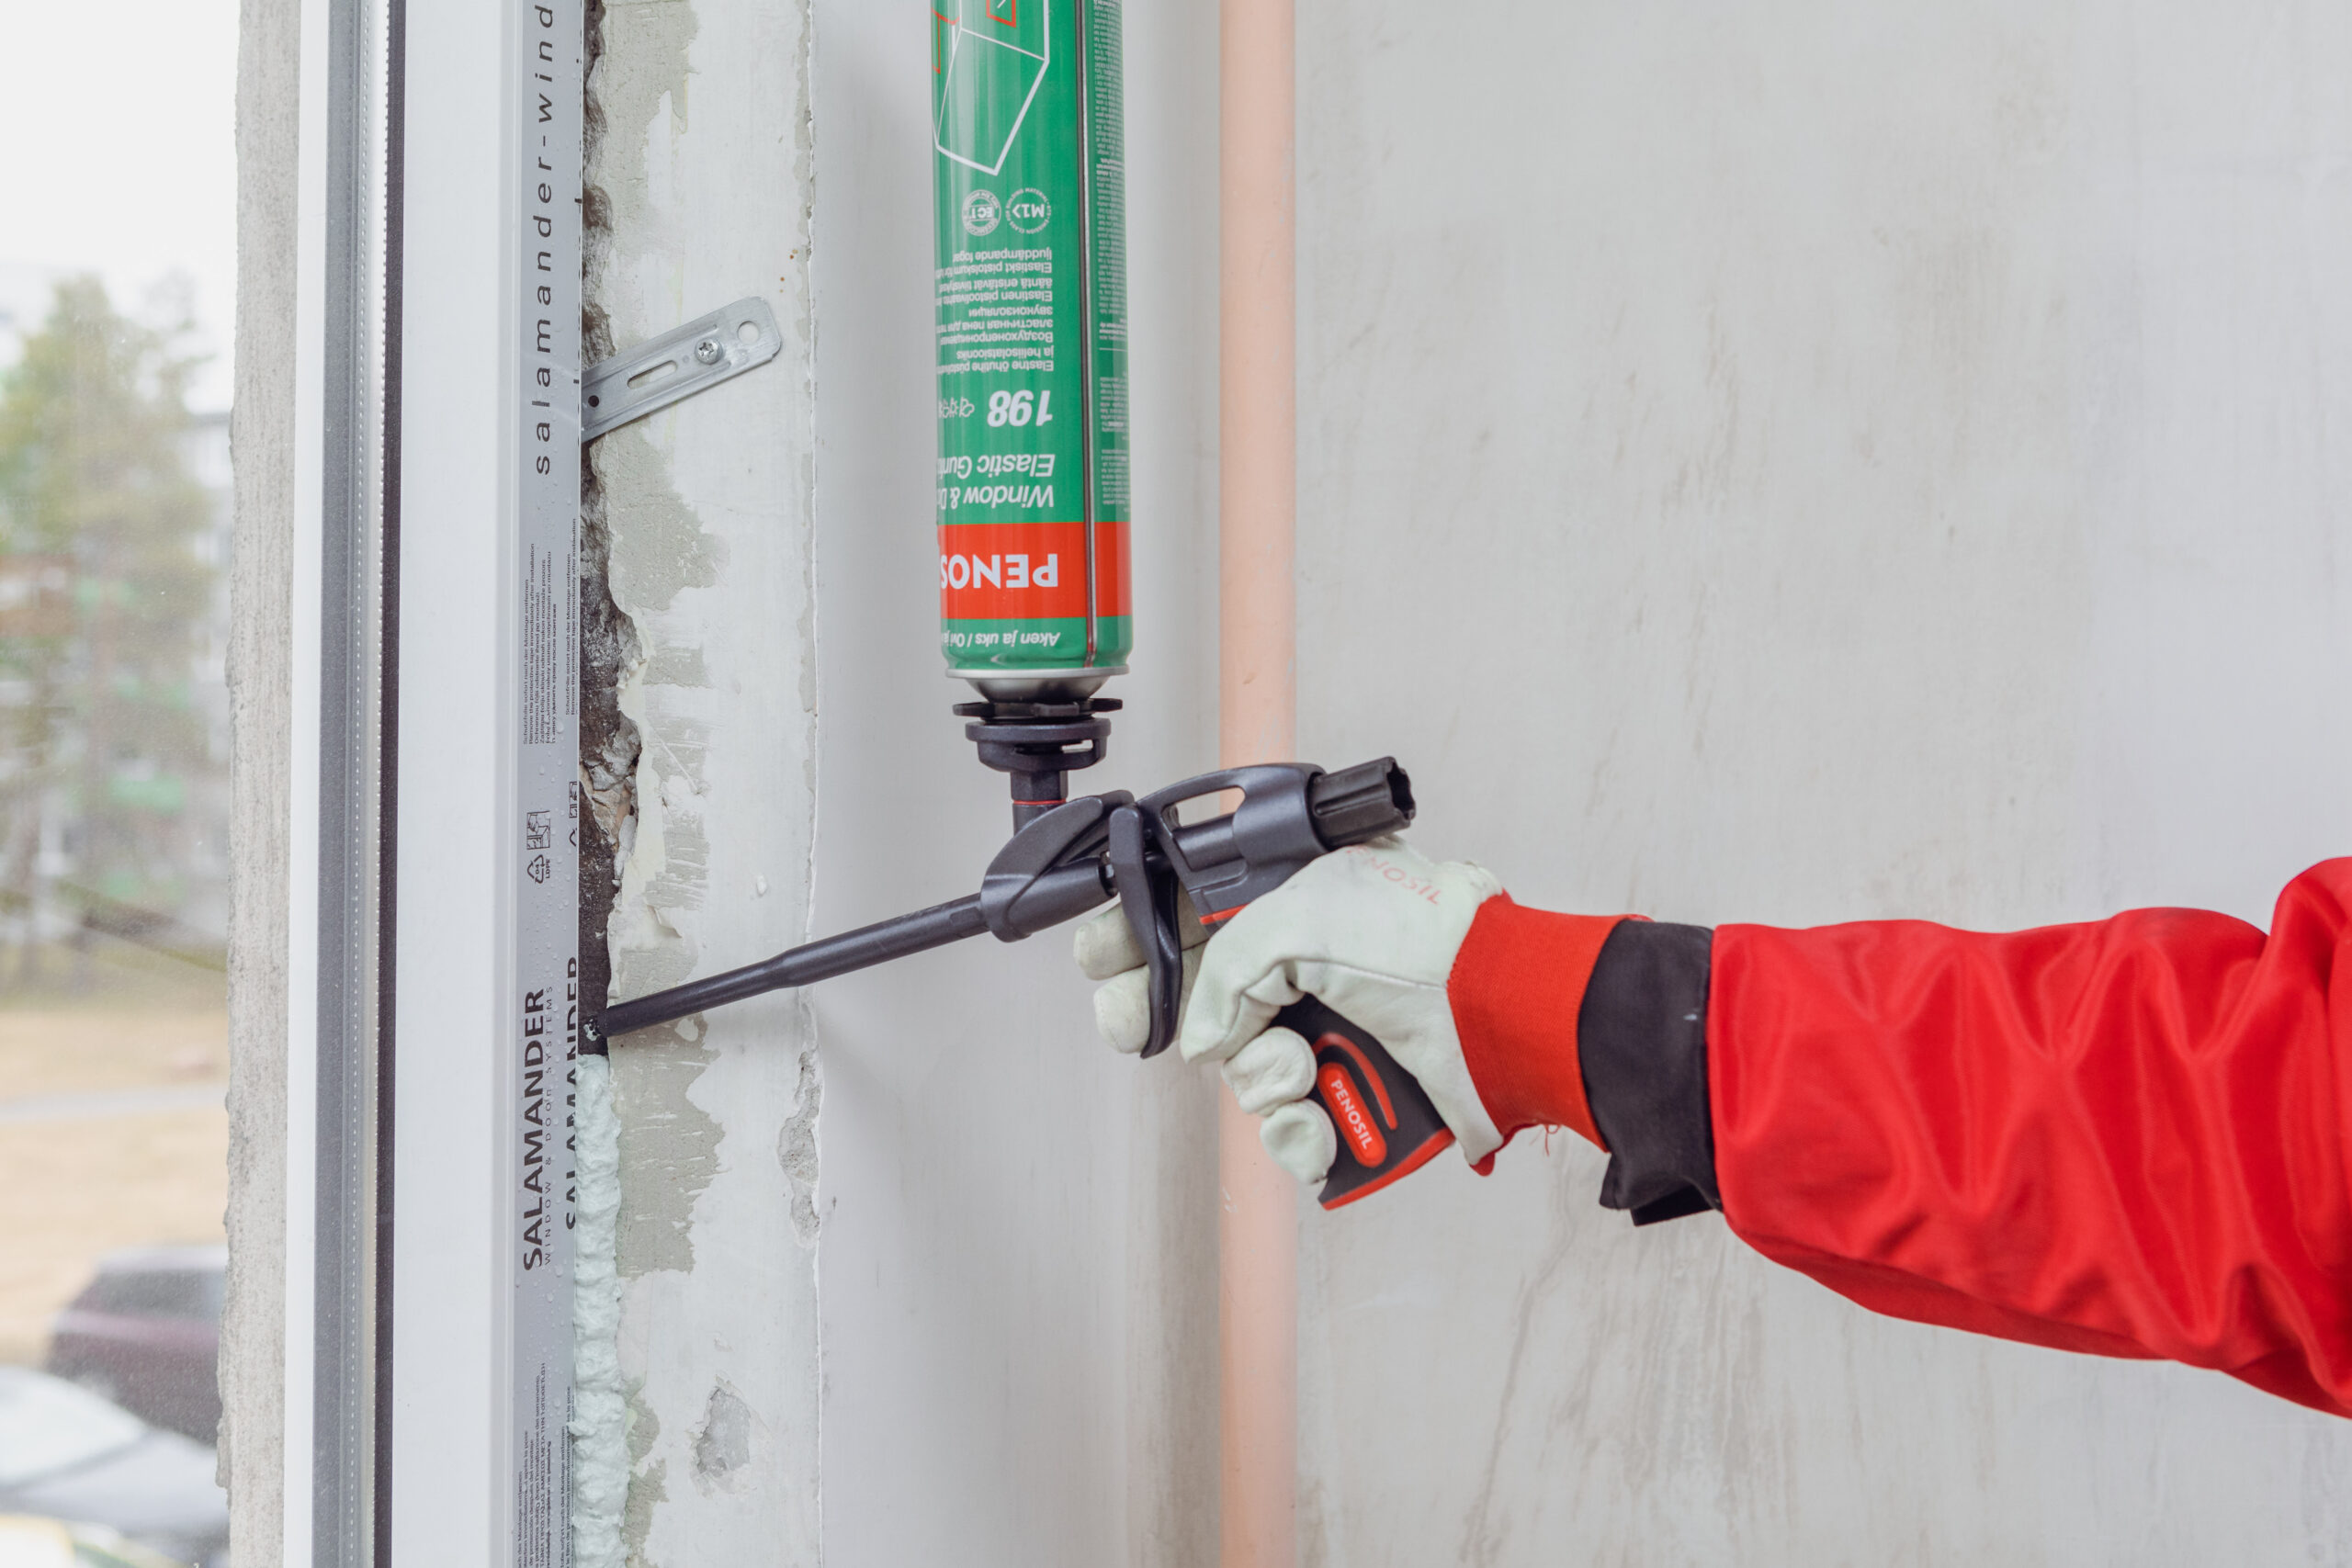
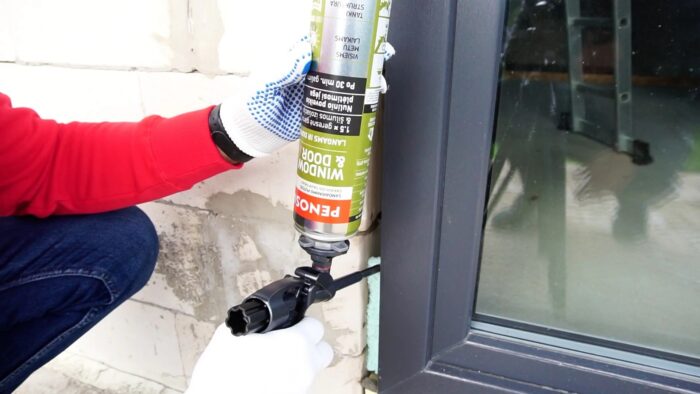
- Step-by-step preparation before using gun foam.
Shake the can vigorously at least 20 times. Hold the foam can in an upright position with valve up. Remove the valve cap. Screw the can to the gun by holding the gun with one hand and screwing the can on with the other hand. Hold the can upside down when extruding the foam. Foam output can be adjusted with gun trigger and adjustment screw. Avoid screwing the can to the gun with valve upside down. Do not screw the gun to the can. Do not bend or turn the can during screwing. See the instruction video here.
- Step-by-step preparation before using straw foam.
Shake the can vigorously at least 20 times. Remove the cap. Hold the foam can in an upright position with valve up. Screw the straw applicator tightly to the foam can valve. Hold the can upside down when extruding the foam. Foam output can be adjusted with the applicator trigger.
- Curing process.
During the curing process the foam should not be covered. The foam needs air humidity to expand, cure and form a correct foam structure.
- Patience is needed for cutting the foam.
Foam can be cut with a knife after it has completely cured in the joint. Cutting a fully cured foam does not damage its mechanical properties. If the foam is cut too early, its structure will be damaged, and it will not form an airtight and soundproof seal.
- UV protection.
Polyurethane foam is sensitive to UV radiation. After the foam has cured, it is recommended to cover it with and opaque material such as paint, sealant, window strips etc.

Following the recommendations outlined here enables you to produce higher-quality work, and the end result should bring you joy for many years to come. Have a look at our other educational articles.