How to Use PU Gun Foam Like a True Professional
20.04.2026
Getting the maximum yield and efficiency out of polyurethane (PU) gun foam involves much more than simply pointing and pressing a foam gun trigger. Whether you are sealing penetrations in a new build or insulating a renovation project, the quality of your products and application methods directly impacts the building’s long-term energy efficiency. Below are a few tips for mastering PU gun foams.
1. Quality Matters
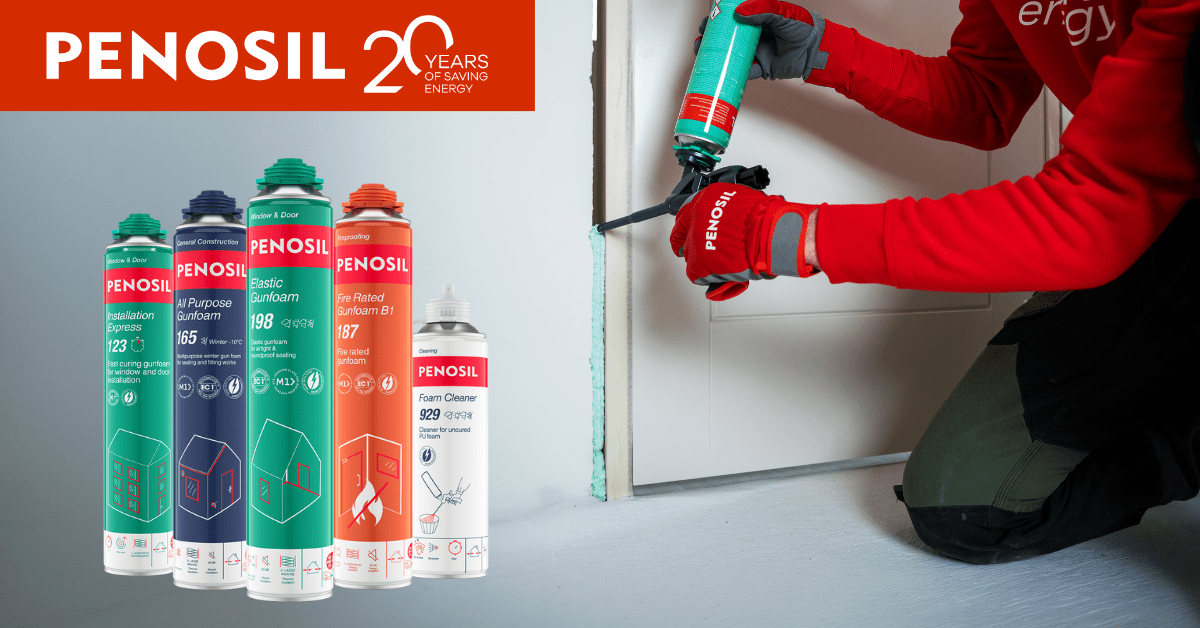
PU Foam: First and foremost, quality matters. A good-quality foam has fine cells and uniform structure, therefore ensuring better insulating properties.
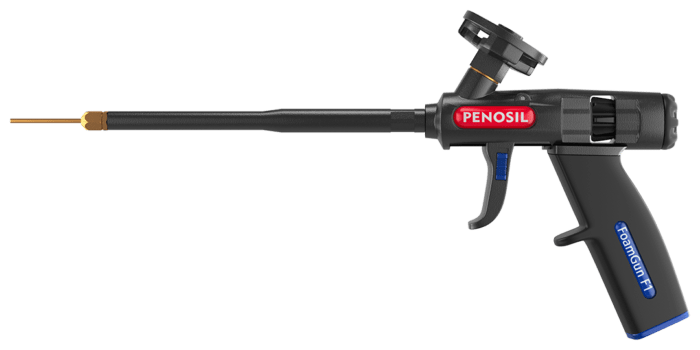
Foam Gun: Foam gun quality greatly affects foam yield and structure. High-quality guns such as Penosil FoamGun S1 allow for more precise dosing, help to get the maximum output from the can and ensure better foam structure.
For extra-narrow and deep joints such as those between insulation boards, we recommend using Penosil FoamGun F1. The gun’s extra-narrow nozzle helps the foam to penetrate deep into the joints, improving the building’s thermal and sound insulation. The smaller the nozzle, the denser the foam structure will be.
2. Preparation
Surface Preparation:
- Clean Well: Thoroughly cleaning the surfaces before starting work ensures maximum adhesion. Remove all traces of dust, grease, oil and loose particles.
- Limit Cleaning Afterwards: Protect adjacent visible surfaces with masking tape or other protective material. Foam stains are notoriously difficult to remove once cured.
Working Temperature:
- Temperature Matters: The temperature of the foam can greatly affects the PU foam’s performance. For the best foam structure and maximum yield, your foam can should be at room temperature (around +20°C) during application. Cold foam yields less and has a poor cellular structure. Although Penosil portfolio includes many all-season foams, such as Penosil Elastic Gunfoam 198 (suitable for -5°C to +30°C), the best results will be achieved when the PU foam is at room temperature during application.
- Pro Tip: If the can is cold, warm it gradually by leaving it in a warm room for a few hours or placing it upright in lukewarm (not hot) water. Never expose it to open flames or high heat, as the pressurised canister may explode.
3. Professional Application Techniques
Moistening and Shaking:
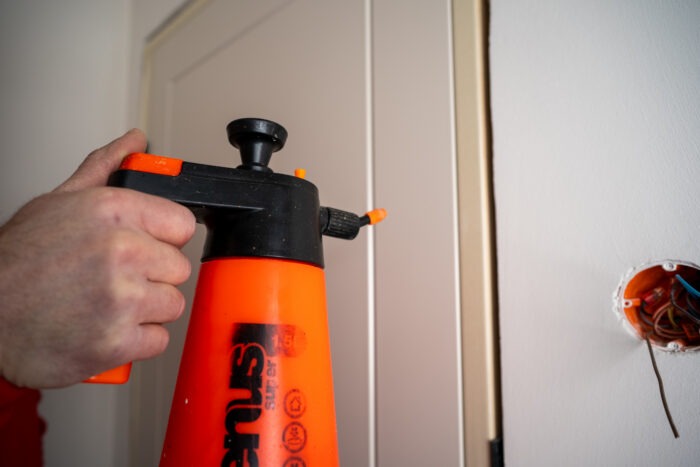
- Moisten Slightly: One-component PU foam needs moisture to expand and cure properly. Lightly mist the surfaces with water before application (only above 0°C). This simple step speeds up curing and creates a uniform foam structure. Aim for damp, not wet.
- Shake Vigorously: Before attaching the can to the gun, shake it vigorously at least 20 times to thoroughly mix the PU foam components. Do not skip this step!
Safety First:
- Gloves and Glasses: Always wear protective gloves and safety glasses when working with PU foam.
- Avoid skin contact. If you do get uncured foam on your skin, remove it immediately either with Penosil Cleaning Wipes 941, solvent or by scraping it off.
- What Not to Do: Do not screw the can to the gun with the valve upside down or bend the can during screwing. Do not aim the gun at people and never smoke during application.
Using the Gun Foam:

- Attaching the Gun to the Can: Hold the foam can upright and screw it onto the gun while holding the adapter in place with your fingers.
- Initial Foam: Before starting to work, extrude a small amount of foam (1–2 seconds) into a waste bin to clear any air bubbles or residue from the gun.
- Upside Down: Always hold the can upside down when working with PU foam. You can adjust the extrusion speed and volume with the gun trigger and adjustment screw.
- Vertical Application: When filling vertical joints, always work from the bottom to the top in a zig-zag movement.
- Don’t Overfill: PU foam expands; only fill the joints partially. Overfilling is wasteful and creates unnecessary cleanup. Depending on the foam formula, the joints should be filled between 50 and 70%. Check the filling rate on the product’s label.
- Larger Joints: When filling larger joints, apply the foam in multiple layers and moisten slightly between each layer.
Finishing:
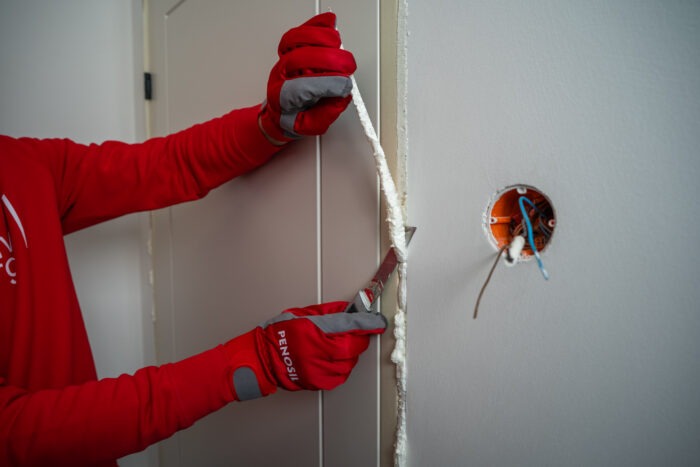
- Curing and Cutting: Only cut excess foam once it is fully cured. Cutting too early can collapse the cell structure. Keep in mind that curing time depends heavily on air temperature, humidity and joint dimensions.
- UV Protection: PU foam is not UV-resistant. To prevent the cured foam from degrading, cover it with paint, sealant, filler or other opaque material as soon as possible after curing.
4. Storage and Care
Care:
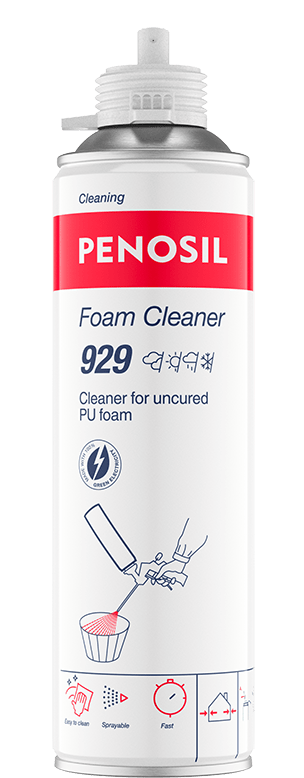
- Leaving the Gun on the Can: If you plan to use the foam can again within a few days, leave it attached to the gun. Completely close the adjustment screw and clean the nozzle tip with Penosil Foam Cleaner 929 to prevent it from clogging.
- Removing the Gun: If you are switching to a different foam or the can is empty, remove the gun. First, close the adjustment screw, then remove the can from the gun. Clean the outside of the gun using Penosil Foam Cleaner 929 spray nozzle and then attach the cleaner canister directly to the gun and spray until the liquid runs completely clear.
Storage:
Always store foam cans in an upright position in a cool, dry place (+5°C to +30°C). As the foam cans are pressurised, never store them near heat sources, in direct sunlight, or at temperatures above 50°C.
- Transport: When transporting the foam cans, keep them in an upright position and secure the cans before transport.
- Best Before: Usually, a foam can’s guaranteed shelf life is 12 months; always check the expiry date before use.
By combining the right professional tools with these tried-and-tested techniques, you’ll work cleaner, save money, and achieve a perfect seal every single time. Explore Penosil range of PU gun foams and guns here.
Want to learn more about PU foams?
Check out our other articles on this topic:
How to choose a suitable PU foam for window installation?
When and How to Use Fire-Resistant PU Foam?
Straw foams vs. gun foams: a comprehensive guide to PU foams