USAGE INSTRUCTIONS
Surfaces to be sealed must be clean, dry and free from any dust, loose particles, oil and old sealant residues. Non-porous surfaces should be cleaned with solvent and a clean, non-fluffy cotton cloth. Excess solvent should be removed with a clean cloth.
If needed, cover the adjacent surfaces with masking tape. For wide joints, use a backer rod to ensure the joints correct thickness and shape.
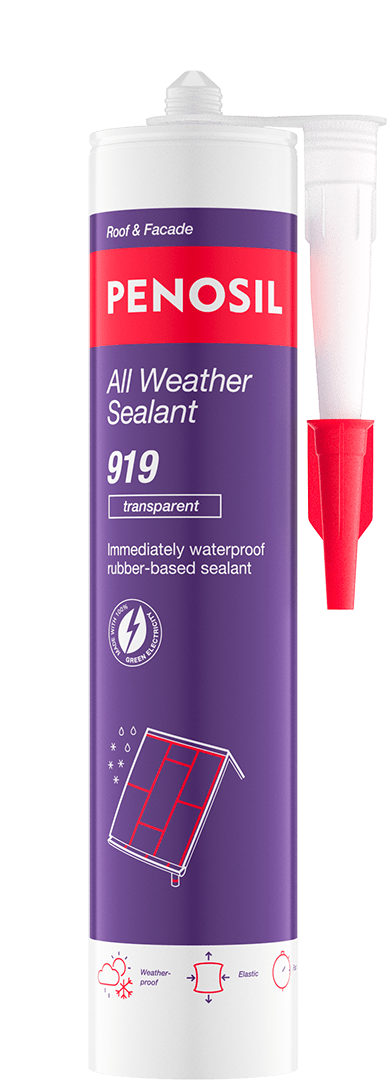
Cartridge:
Cut the tip of the cartridge. Screw on the nozzle and cut an opening at a 45° angle which is slightly larger than the joint to be sealed.
Place the cartridge to a sealant gun.
Apply the sealant by keeping an even pressure at the gun trigger and smoothly dragging the nozzle along the joint.
Remove the excess sealant and smoothen the surface with a suitable tool.
Foil package:
Place the package into the foil pack gun. Snip the top off the foil package, just below the metal clip. Screw on the nozzle with the cap.
Cut an opening to the nozzle at a 45° angle which is slightly larger than the joint to be sealed.
Apply the sealant by keeping even pressure at the gun trigger and smoothly dragging the nozzle along the joint.
Remove the excess sealant and smoothen the surface with a suitable tool.
Bucket:
Open the bucket, apply the sealant to the joint by a jointing knife.
Remove the excess sealant and smoothen the surface with a suitable tool.
During the curing process, make sure that the sealed surfaces stay clean and are not under mechanical stress.





 Facade Repair Mastic 12,5E Technical Data Sheet