USAGE INSTRUCTIONS
Surfaces must be clean from dust, loose particles and oil stains.
Moisten dry surfaces with water mist to ensure a faster curing time and better end results.
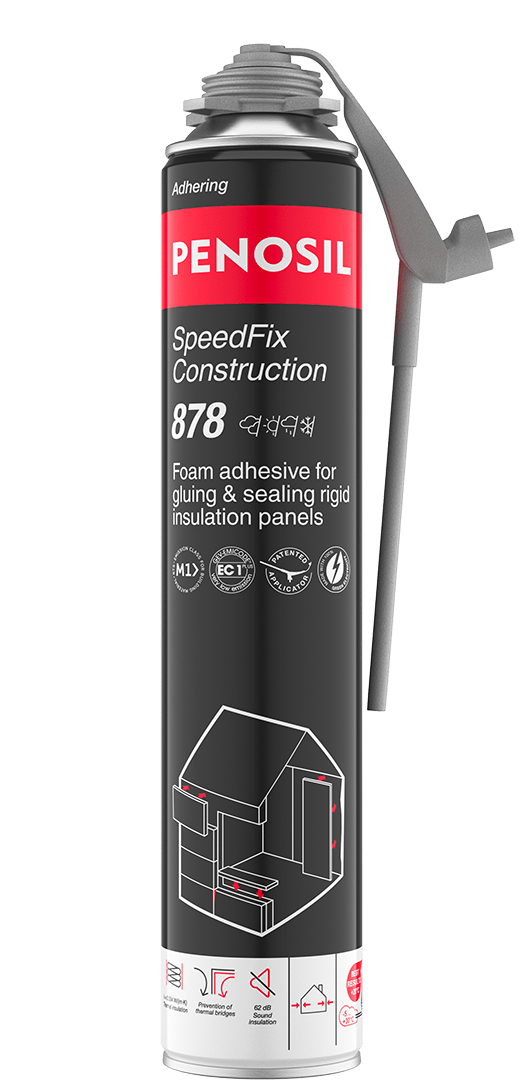
Shake the can vigorously at least 20 times. Hold the foam can in an upright position with the valve up.
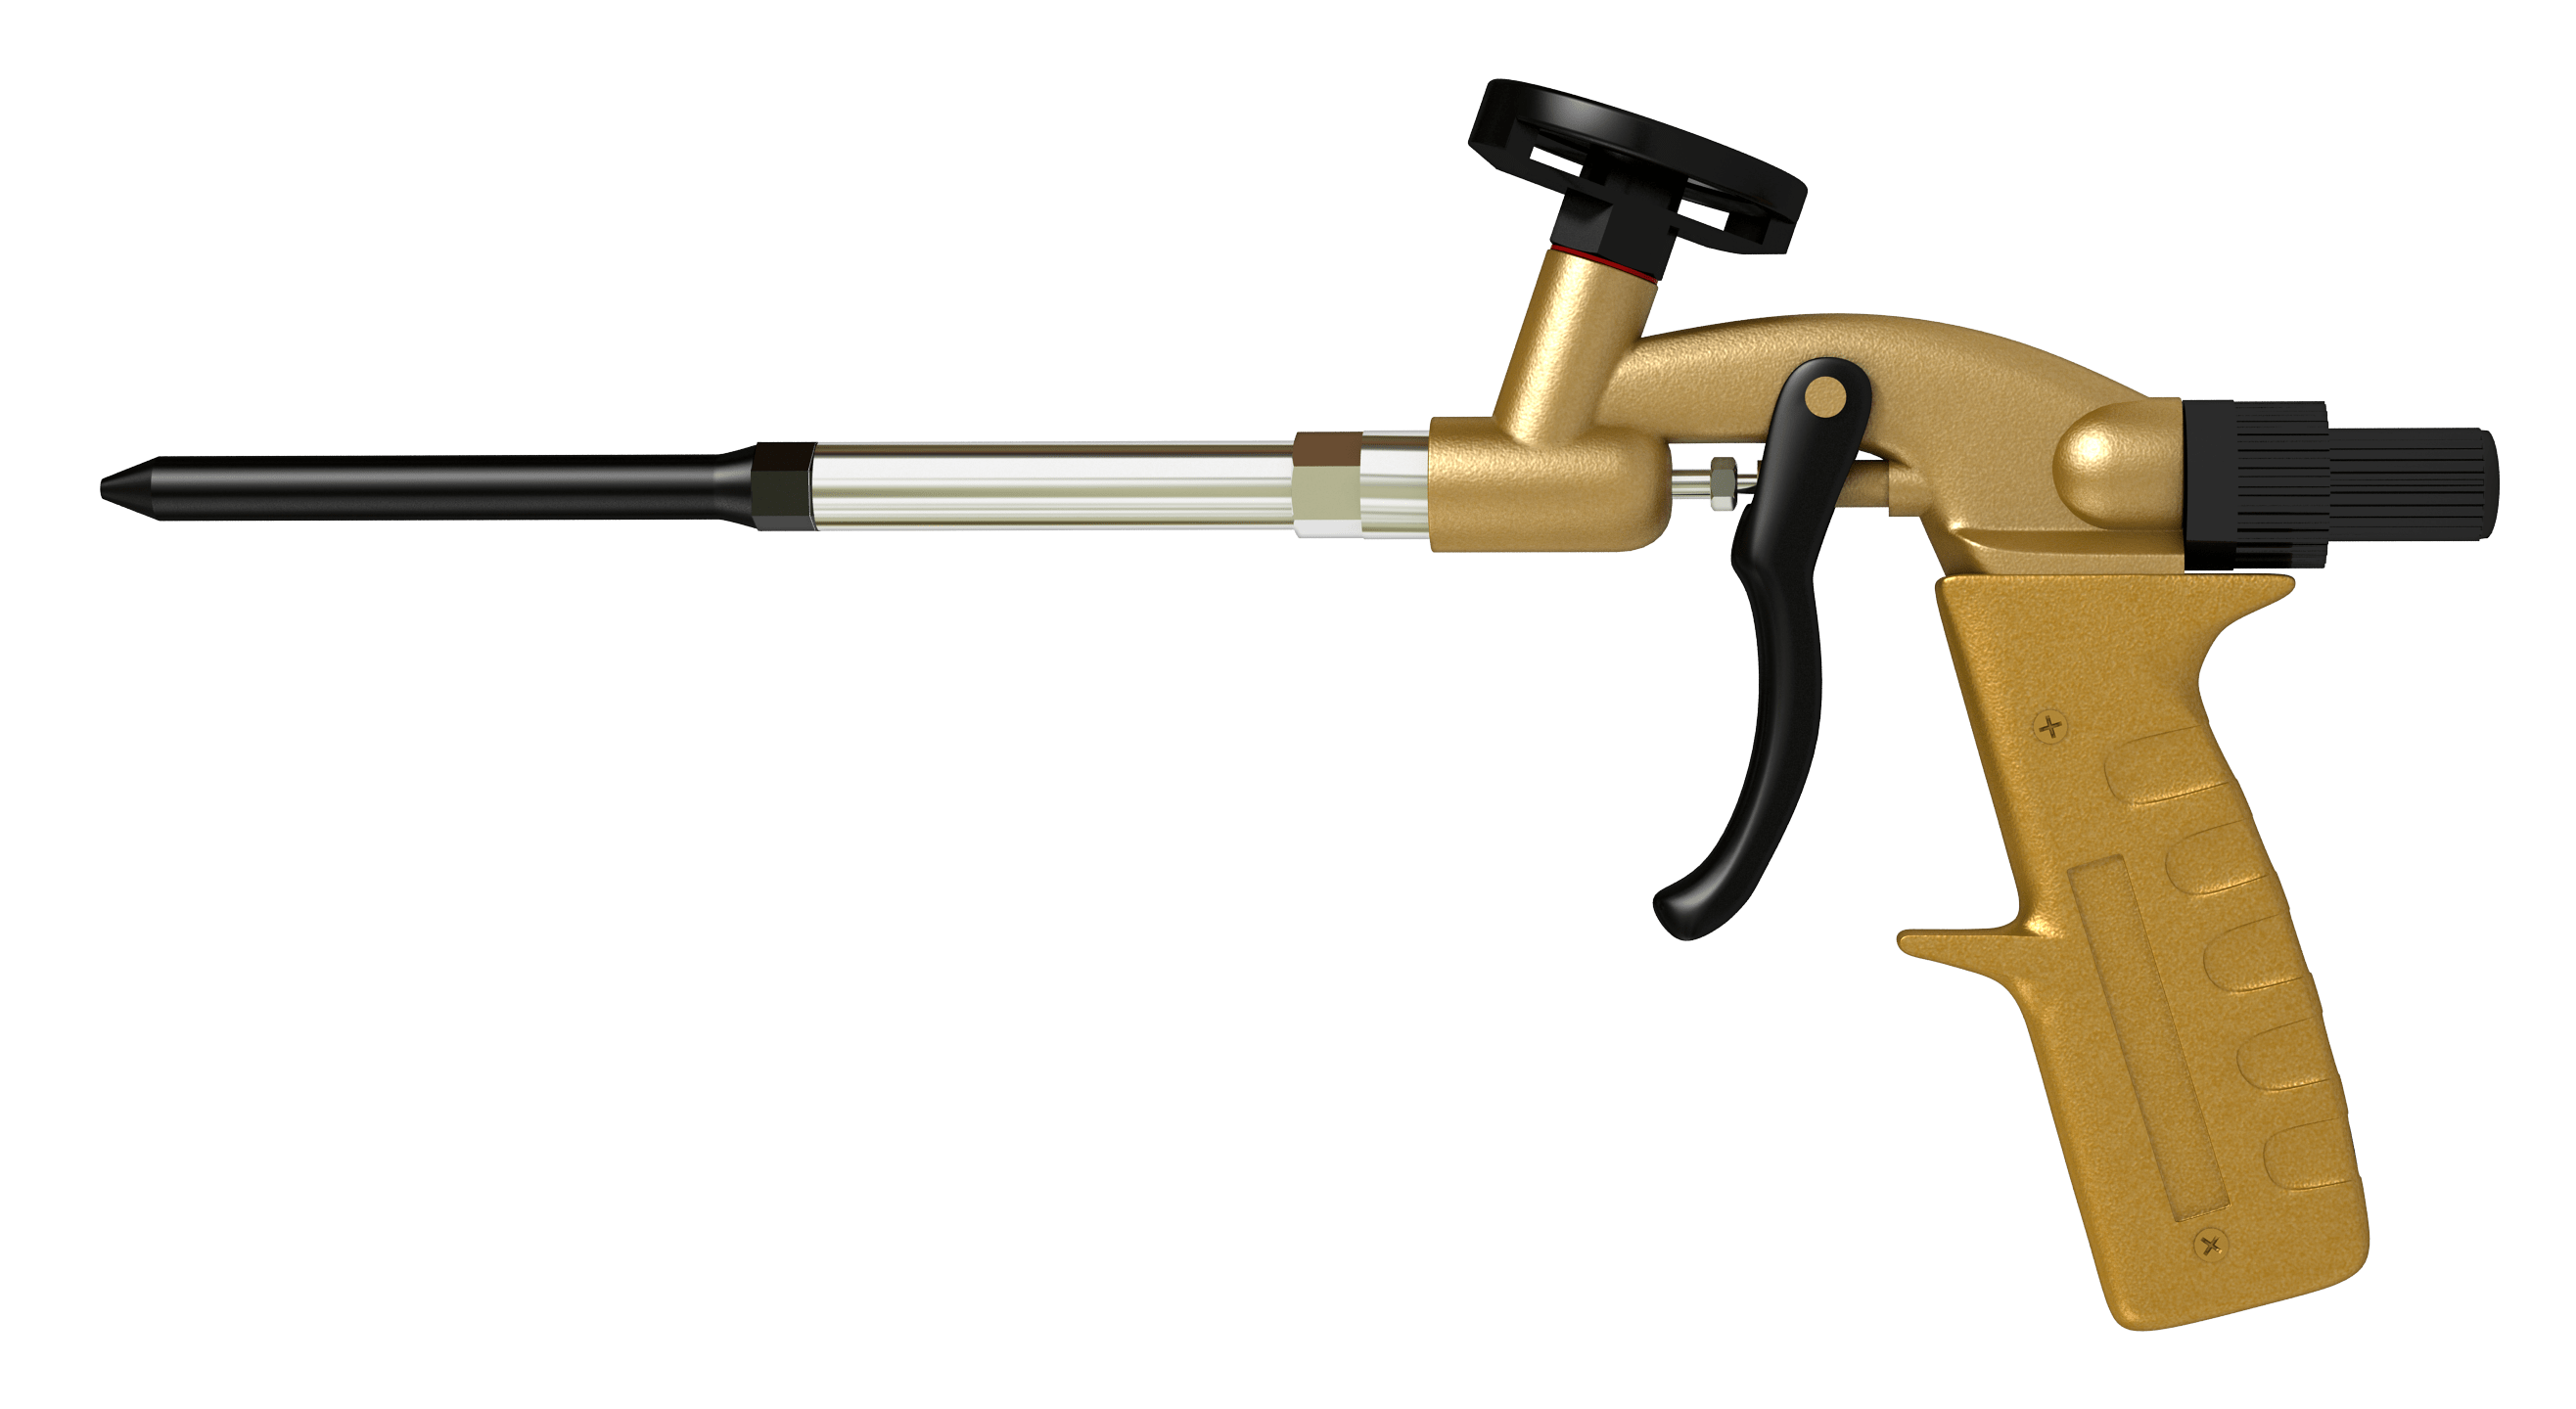
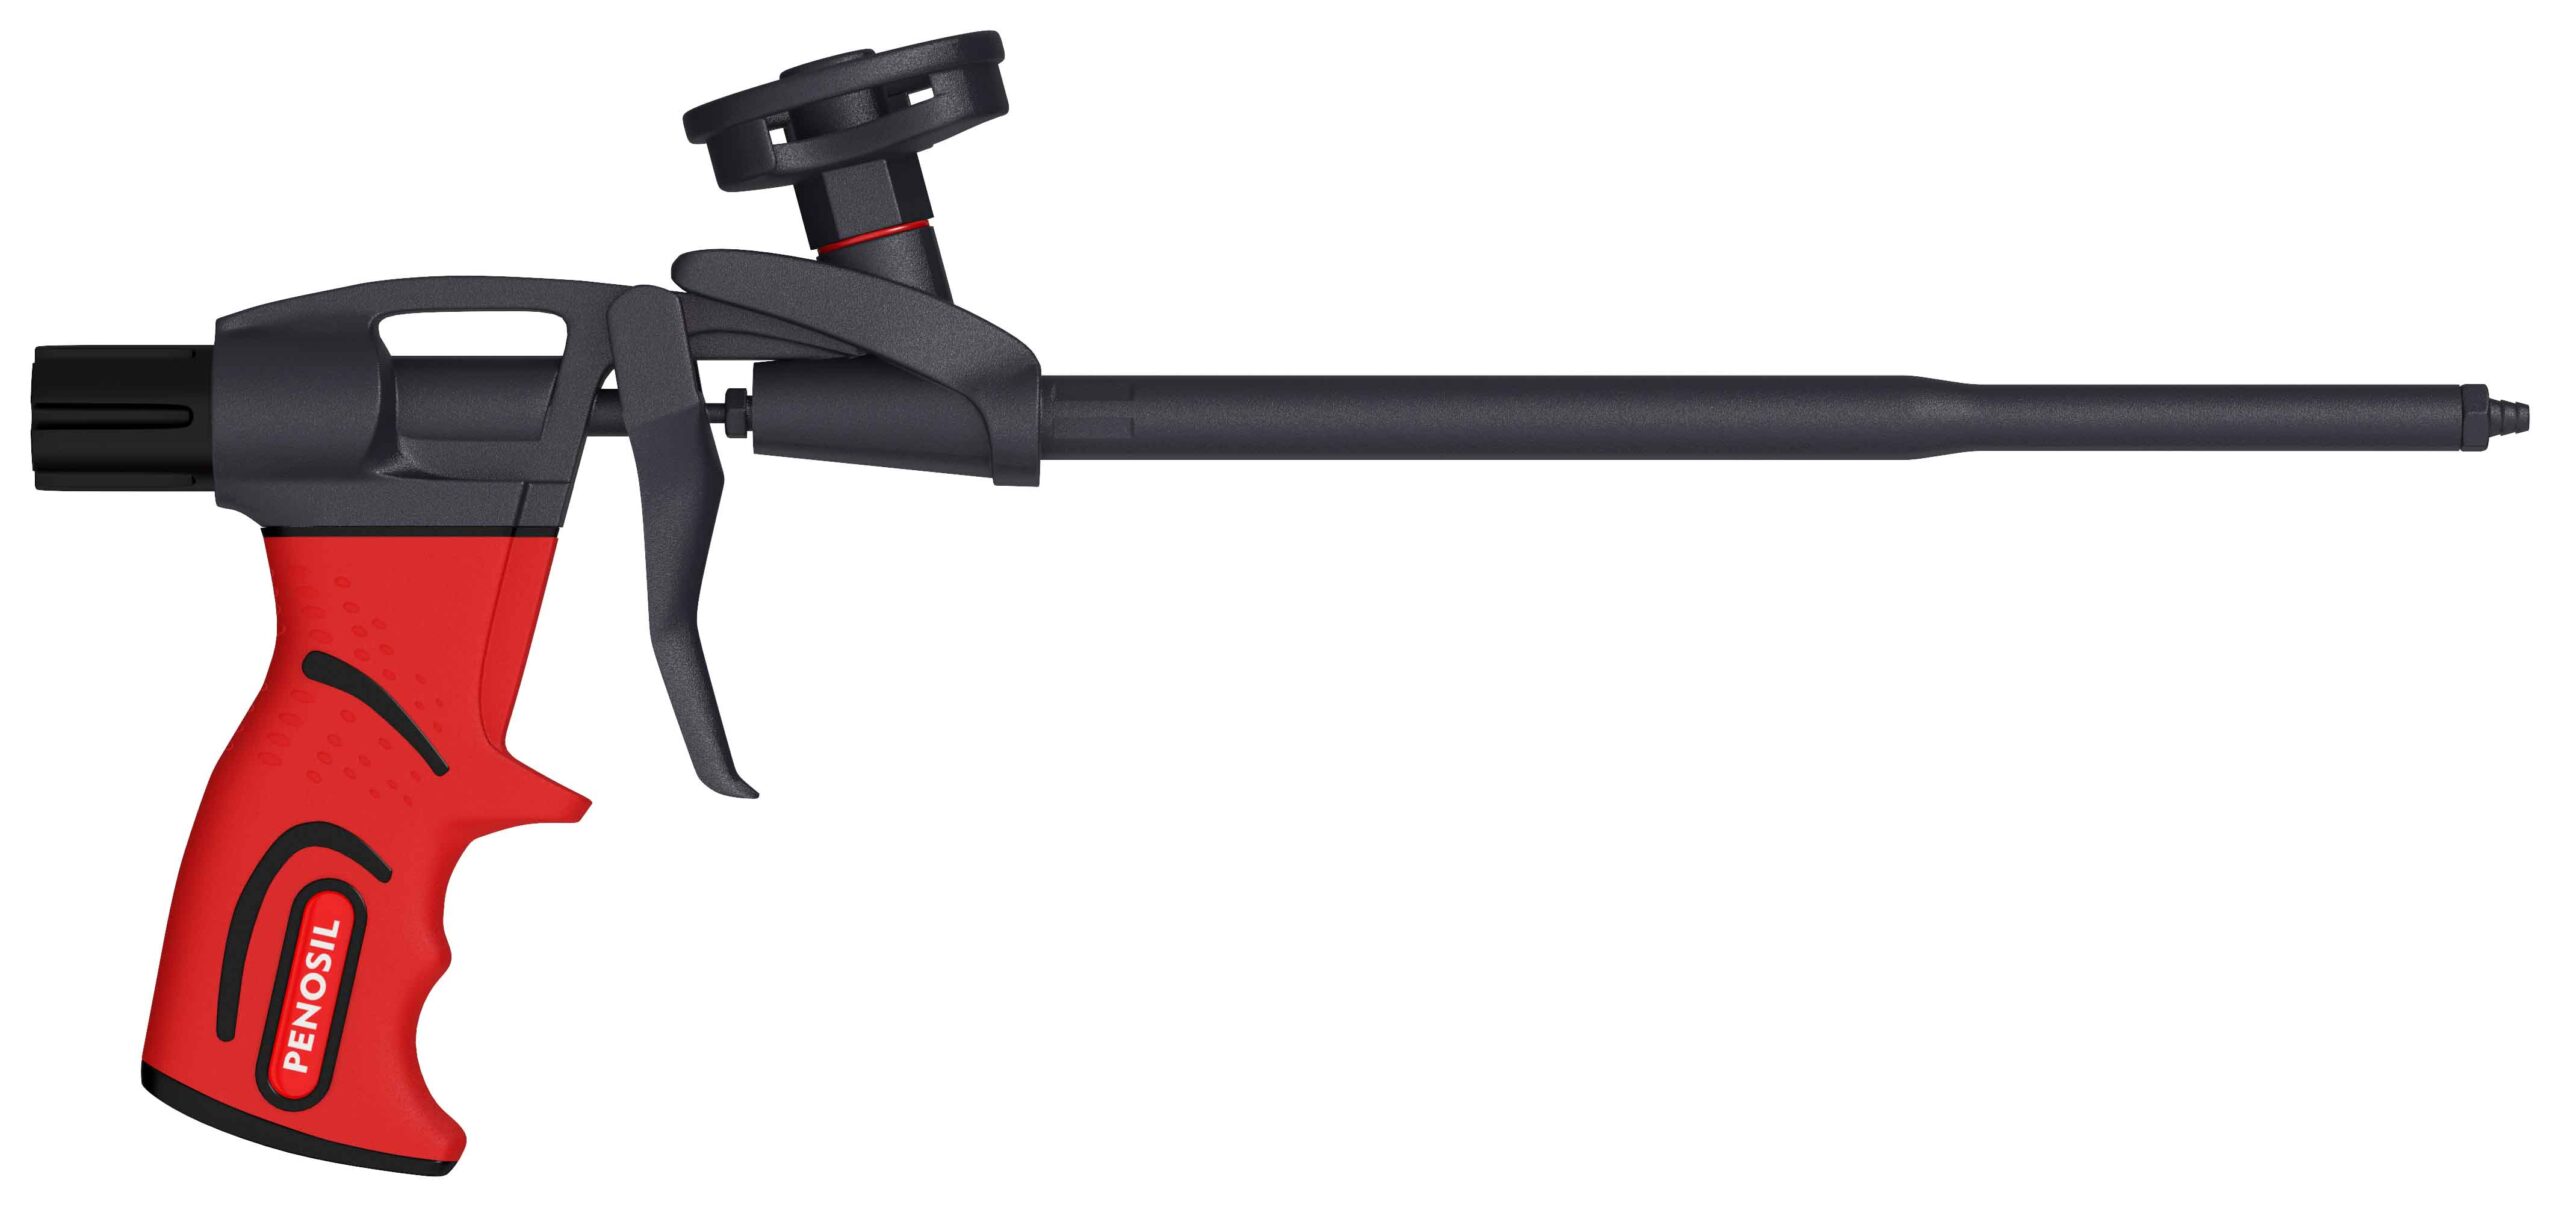
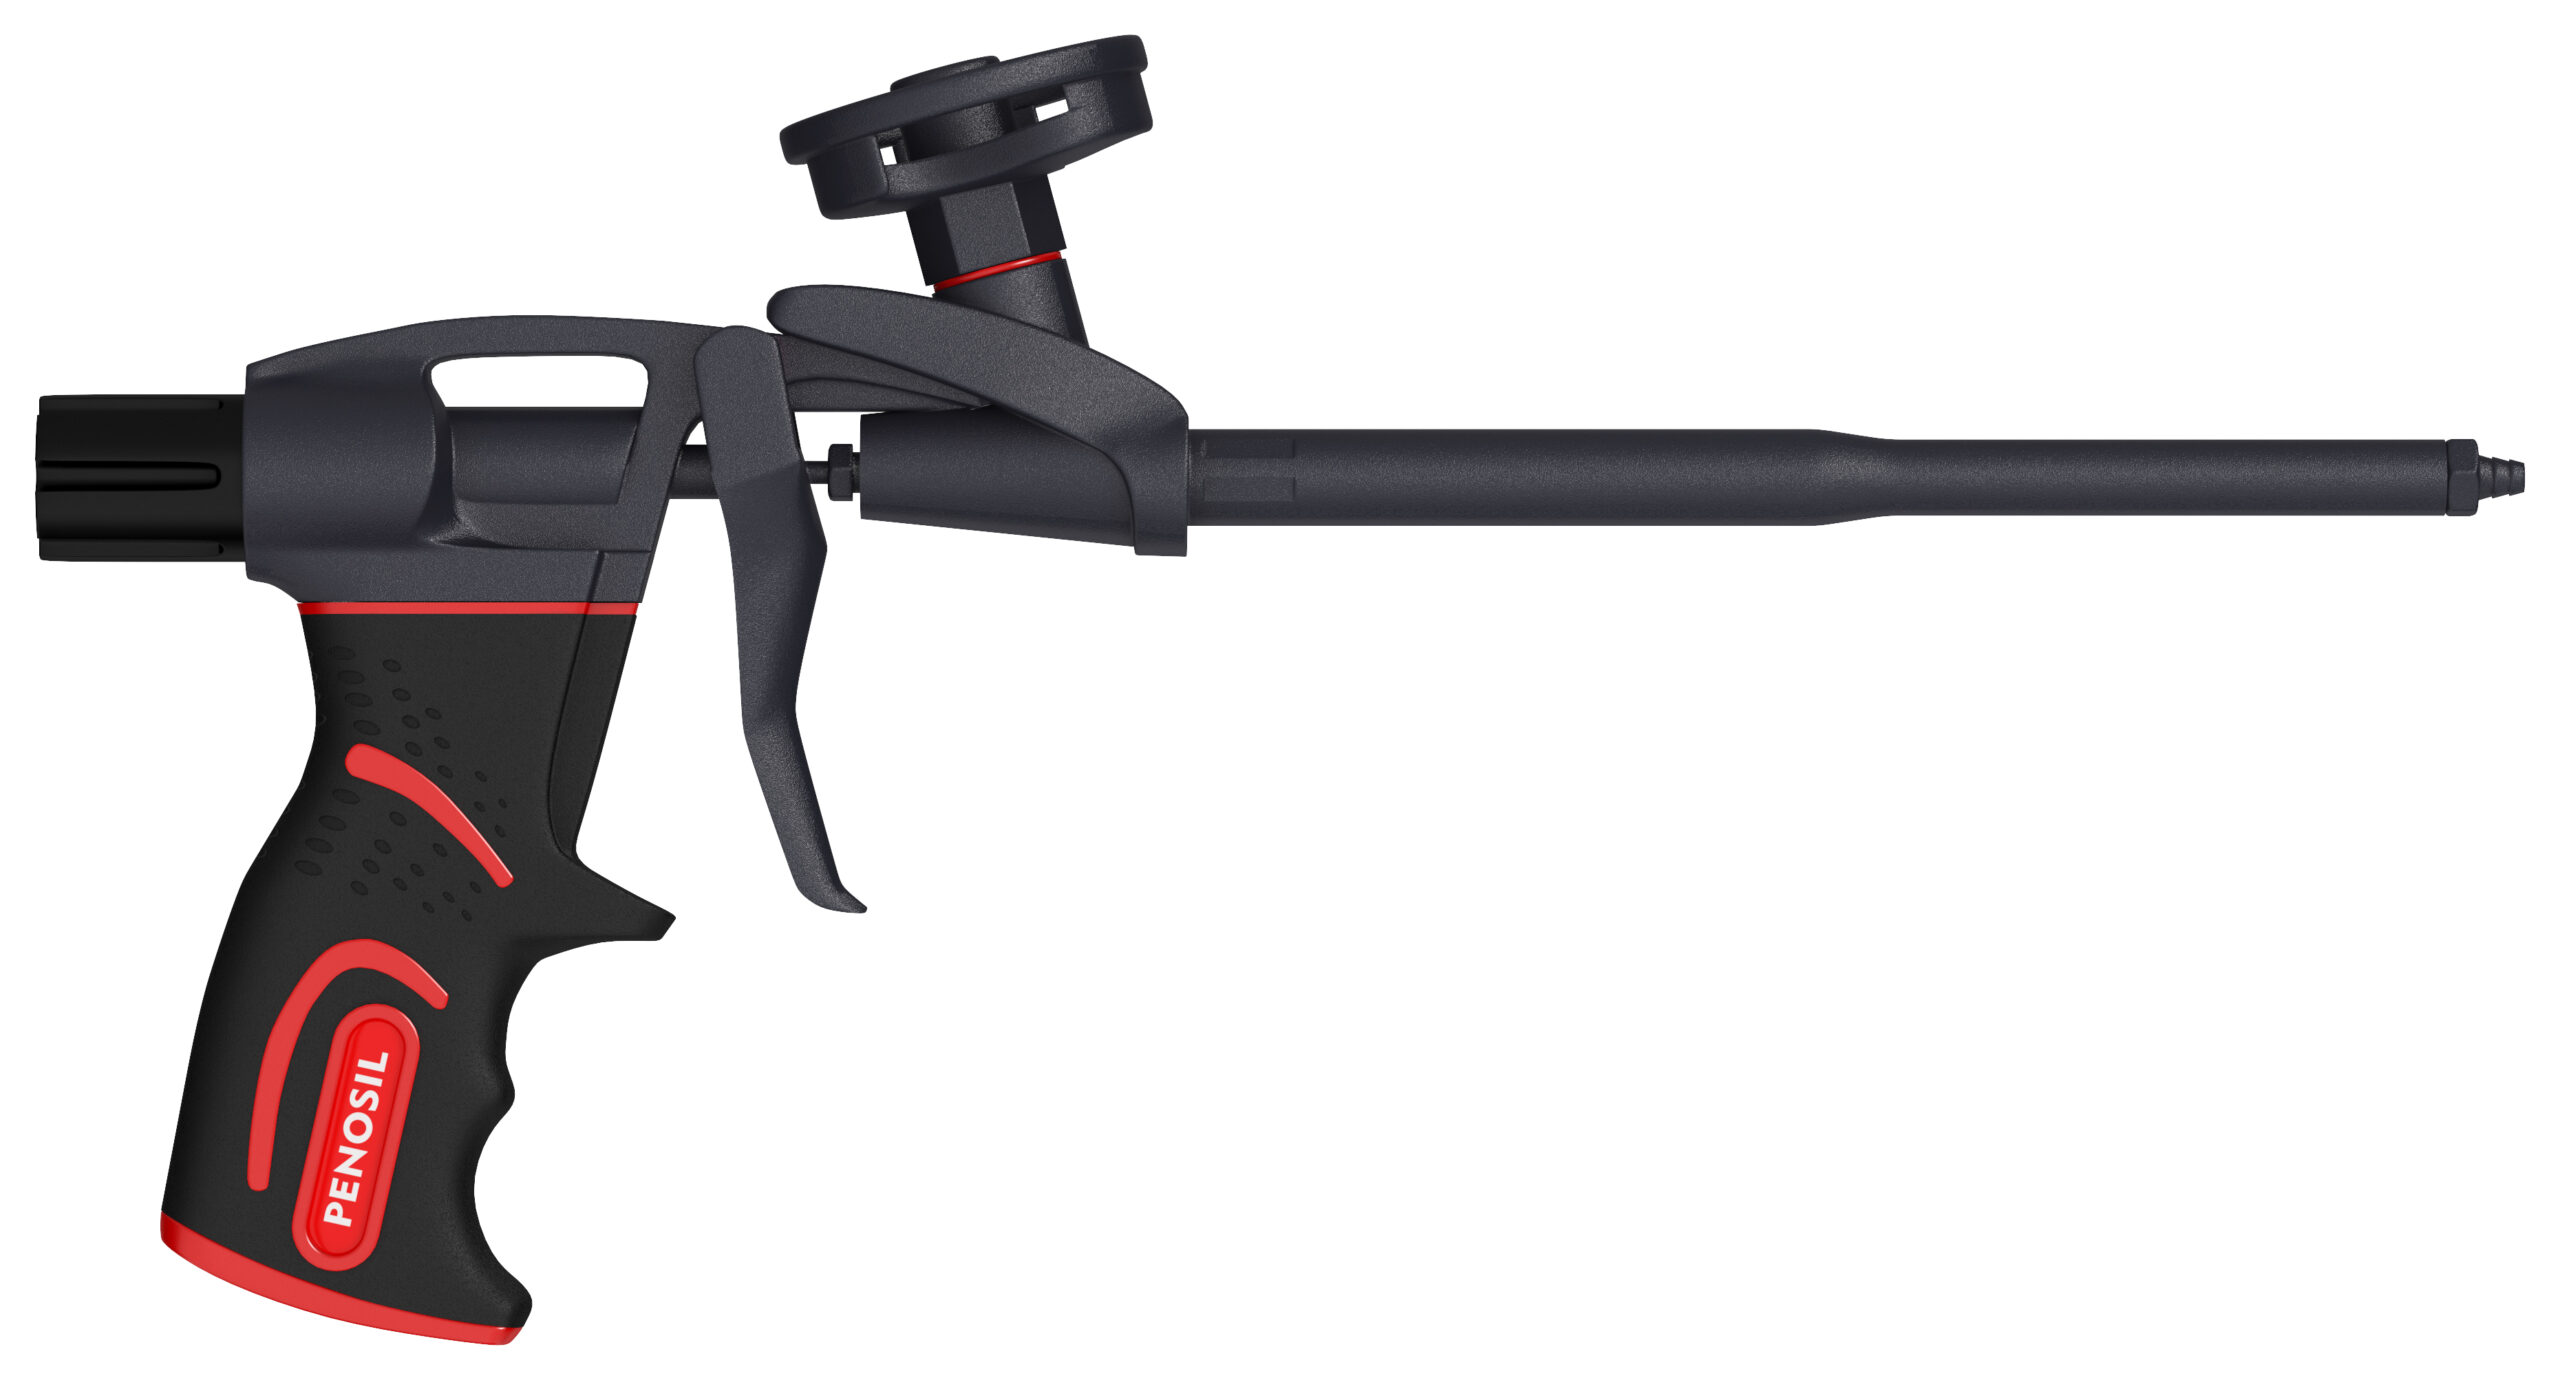
Hold the foam can adapter in place with your fingers while screwing the can onto the gun. Hold the can upside down when extruding the foam. Foam adhesive output can be adjusted with a gun trigger and adjustment screw.
Fill the joints up to approx. 75%. In the case of larger joints, apply foam in several layers and moisten slightly between each layer.
Excess foam can be cut off after it has fully cured.
Do not aim the gun at people. Avoid screwing the can onto the gun with the valve upside down. Do not bend or turn the can during screwing.
Always use protective glasses and gloves when working with PU foam adhesive!
Installing insulation boards and interior design boards:
Apply the foam adhesive to the board surface in a continuous flow, parallel with the sides of the board (3 to 4 cm from the edge) and one strip in the middle, parallel to the longest side (up to 25 cm between adhesive strips).
After applying the foam adhesive onto the board wait for 2–3 min and then press the board to the wall.
The board can be adjusted/straightened during the next 5 min. With one foam can 10m² of wall surface can be covered with insulation boards.
Fixing windowsills:
Before fixing the windowsill, make sure the base surface is levelled. Spacers must be used to support the windowsill; foam can only be used as an adhesive.
Apply foam adhesive to the base surface 3 to 4 cm from the edge.
Weights must be used to fix the windowsill until the foam adhesive is cured.









 MultiFix & Fill 821 Technical Data Sheet